Corset making can be a complex and intricate process, but I’ll provide you with a general tutorial to get you started. Keep in mind that corset making requires sewing skills and knowledge of garment construction. Here are the steps to make a basic corset:
1. Corset pattern (commercial or self-drafted)
2. Outer fabric (such as coutil, brocade, or denim)
3. Lining fabric (cotton or lightweight coutil)
4. Boning (flat steel or spiral steel)
5. Busk (a set of metal closures for the front)
6. Grommets or eyelets
7. Lacing cord
8. Thread
9. Sewing machine
10. Hand sewing needles
11. Scissors
12. Measuring tape
13. Boning channels (bias tape or fabric strips)
Step 1: Prepare the Pattern
Choose a corset pattern that suits your desired style and measurements. Cut out the pattern pieces in your size. Make sure to follow the instructions provided with the pattern.
Using the pattern pieces, cut out the outer fabric and lining fabric. Remember to transfer all necessary markings onto the fabric using tailor’s chalk or fabric markers.
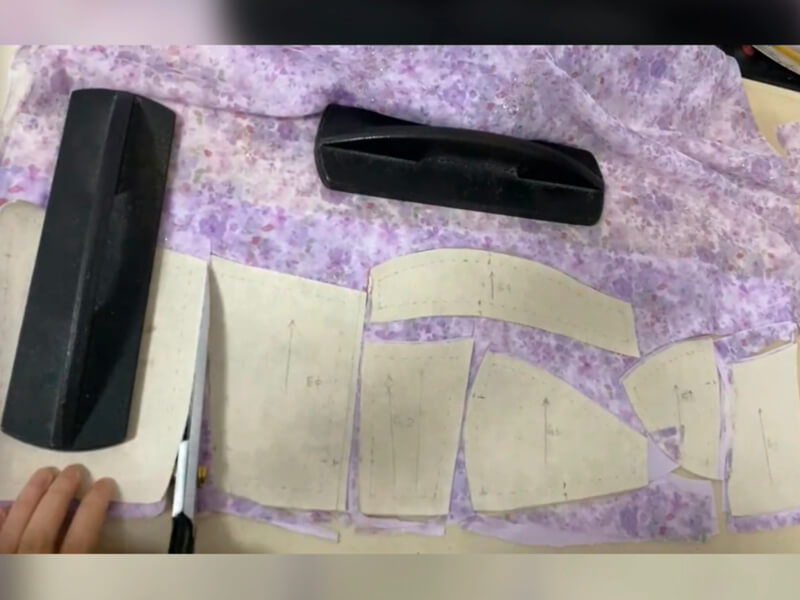
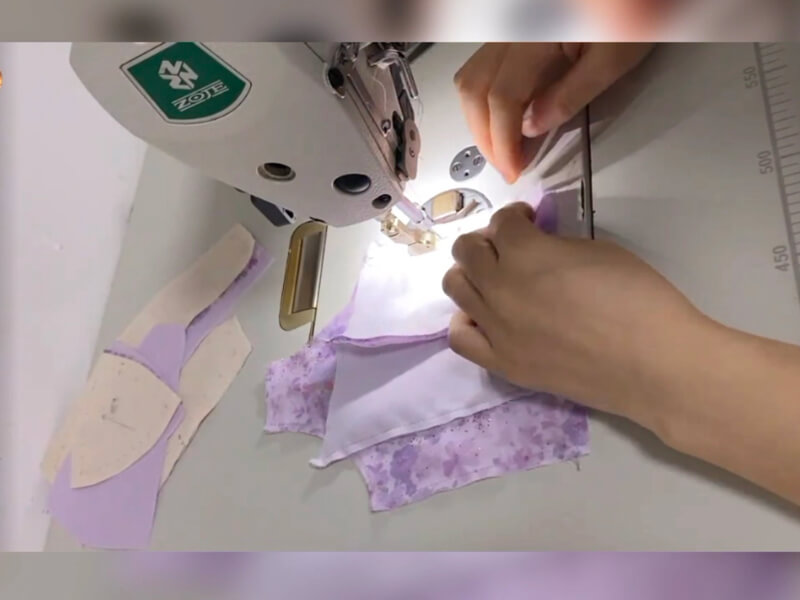
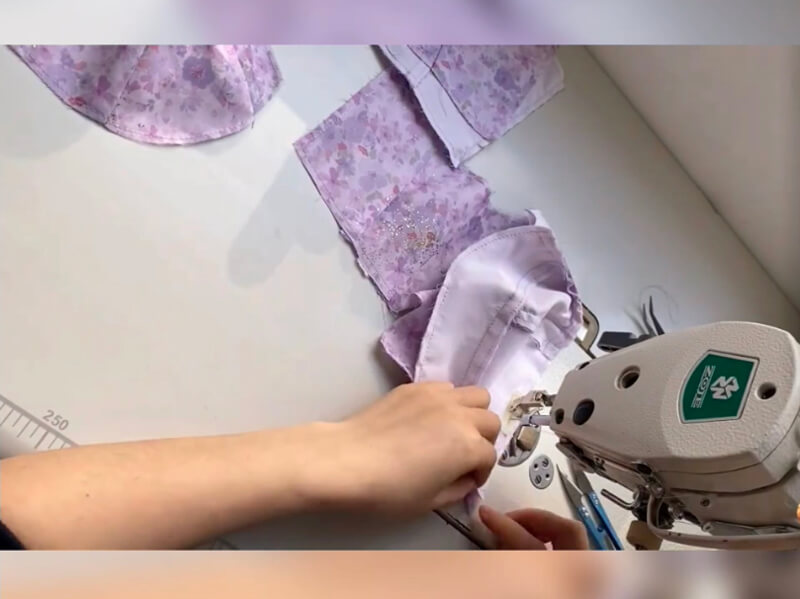
Start by sewing the fabric panels together, following the construction order specified in your pattern instructions. Usually, corsets consist of several fabric panels that are sewn together to create the desired shape and structure.
 |
 |
Create channels for inserting the boning by sewing boning channels along the seams. You can use bias tape or fabric strips folded in half to enclose the boning. Make sure to leave openings at the top and bottom to insert the boning later.
Cut your boning to the appropriate lengths according to your pattern. Slide the boning into the channels you created, using the openings left at the top and bottom. For steel boning, you may need to tip the ends with metal caps to prevent them from poking through the fabric.
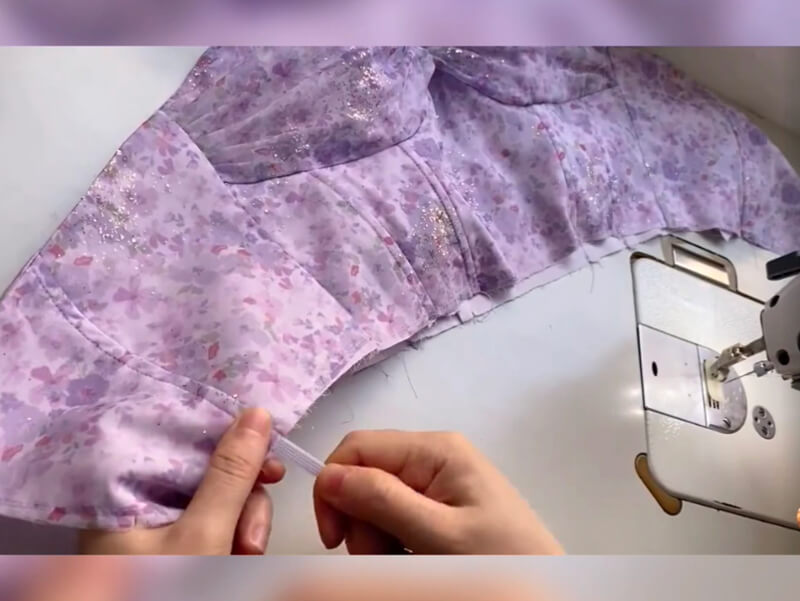
Place the busk closures on the center front edges of the corset, aligning them properly. Sew them securely into place, ensuring they are evenly spaced and straight.
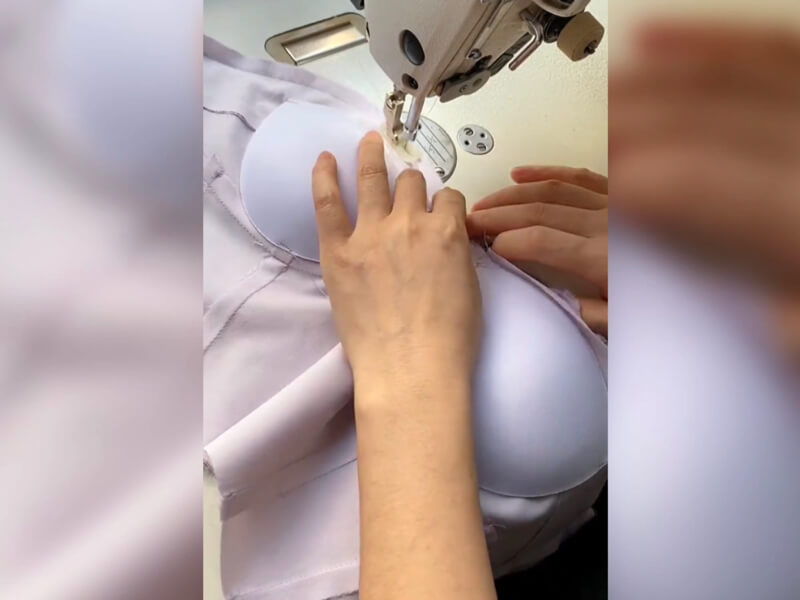
Create openings for lacing by adding grommets or eyelets to the back edges of the corset. Follow the instructions that come with the grommet or eyelet kit. Space them evenly and reinforce the fabric with small fabric patches behind each one.
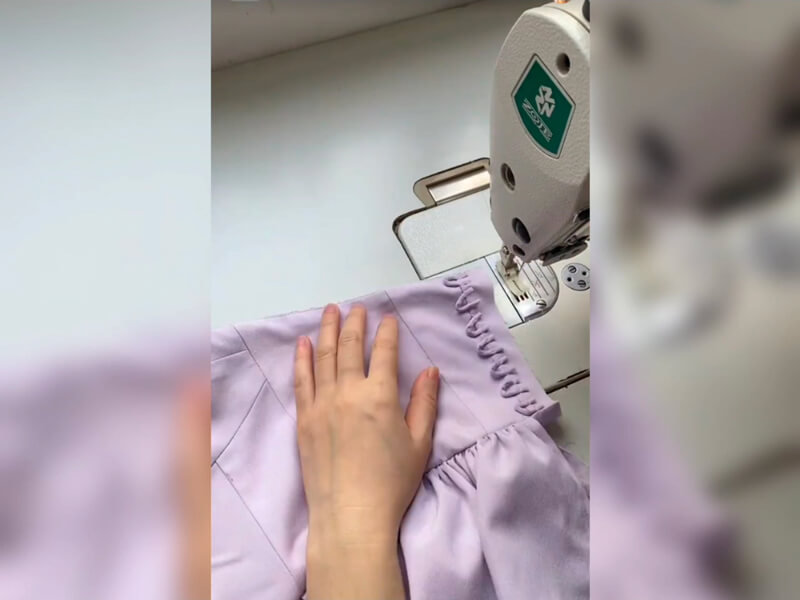
Finish the bottom edge of the corset by folding the fabric under and hemming it. You can also add lace trim or decorative elements as desired.
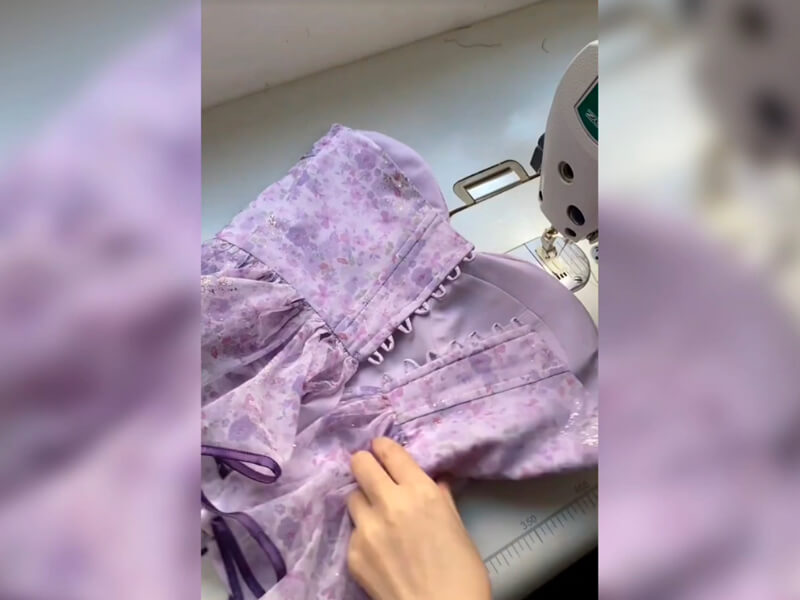
Step 9: Final Adjustments
Try on the corset to check the fit. If any alterations are needed, make adjustments at this stage, such as taking in or letting out seams. You may need the assistance of a fitting partner to help with tightening the corset and lacing it properly.
Thread the lacing cord through the grommets or eyelets at the back of the corset. Start from the top and work your way down, crossing the laces in an X pattern. Adjust the tension to your preference, ensuring the corset provides a snug and comfortable fit.
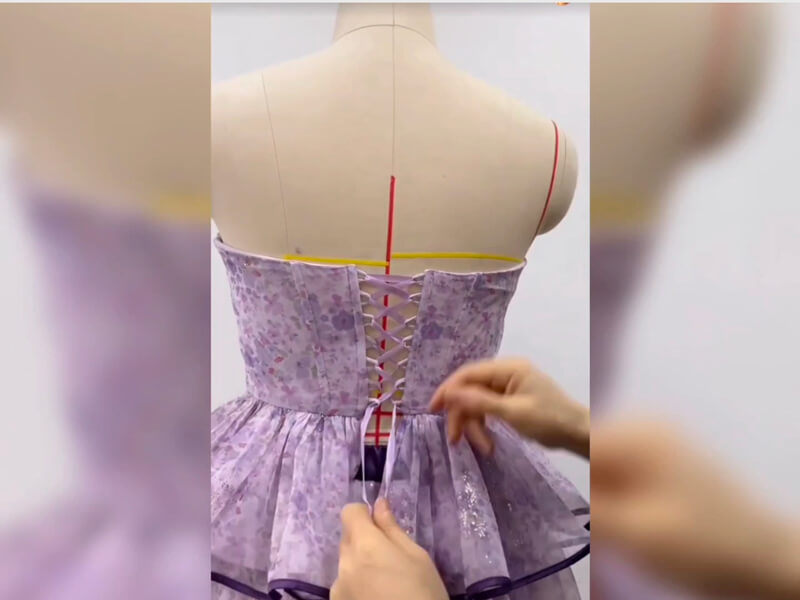
Beginners can start with simple patterns, and you can also DIY your own exquisite corset, go try it~
Inquiry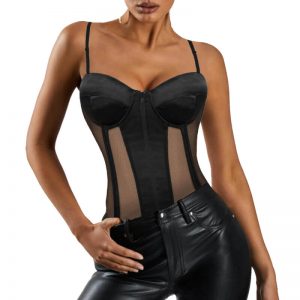 |
Inquiry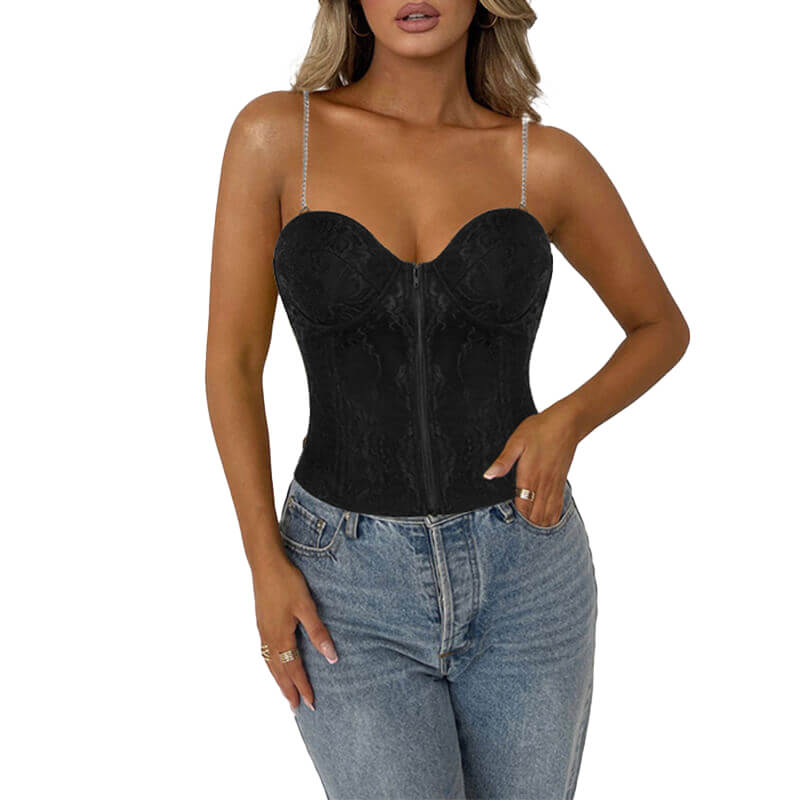 |
Inquiry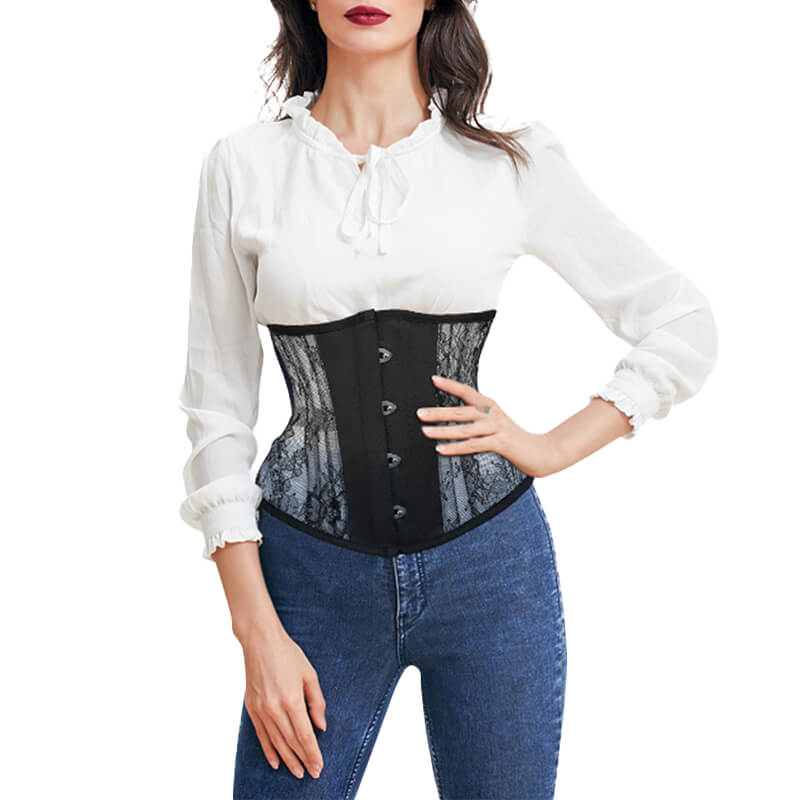 |
Inquiry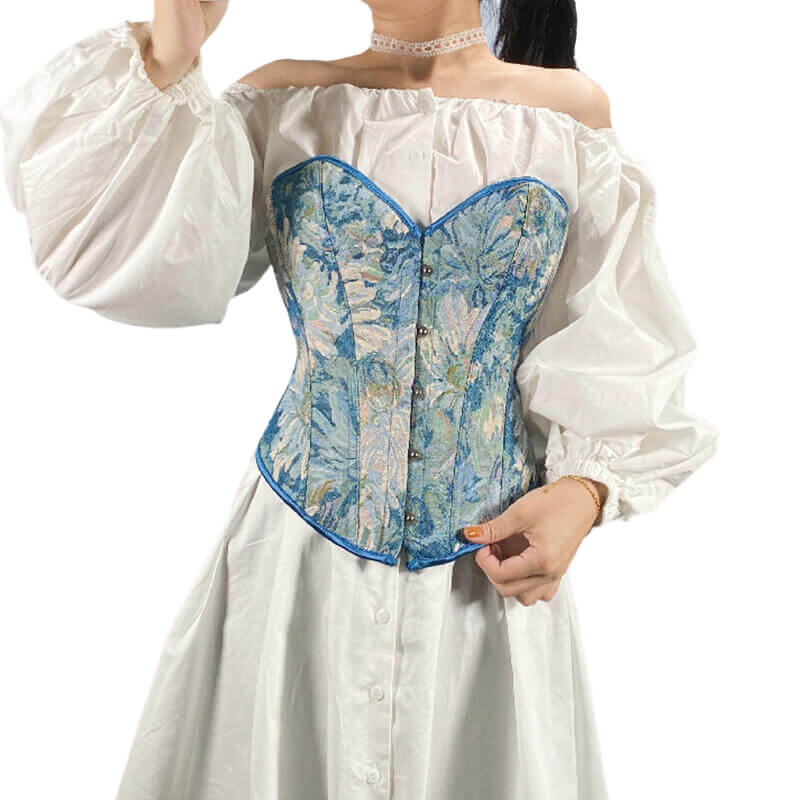 |
Inquiry |
Inquiry |
Inquiry |